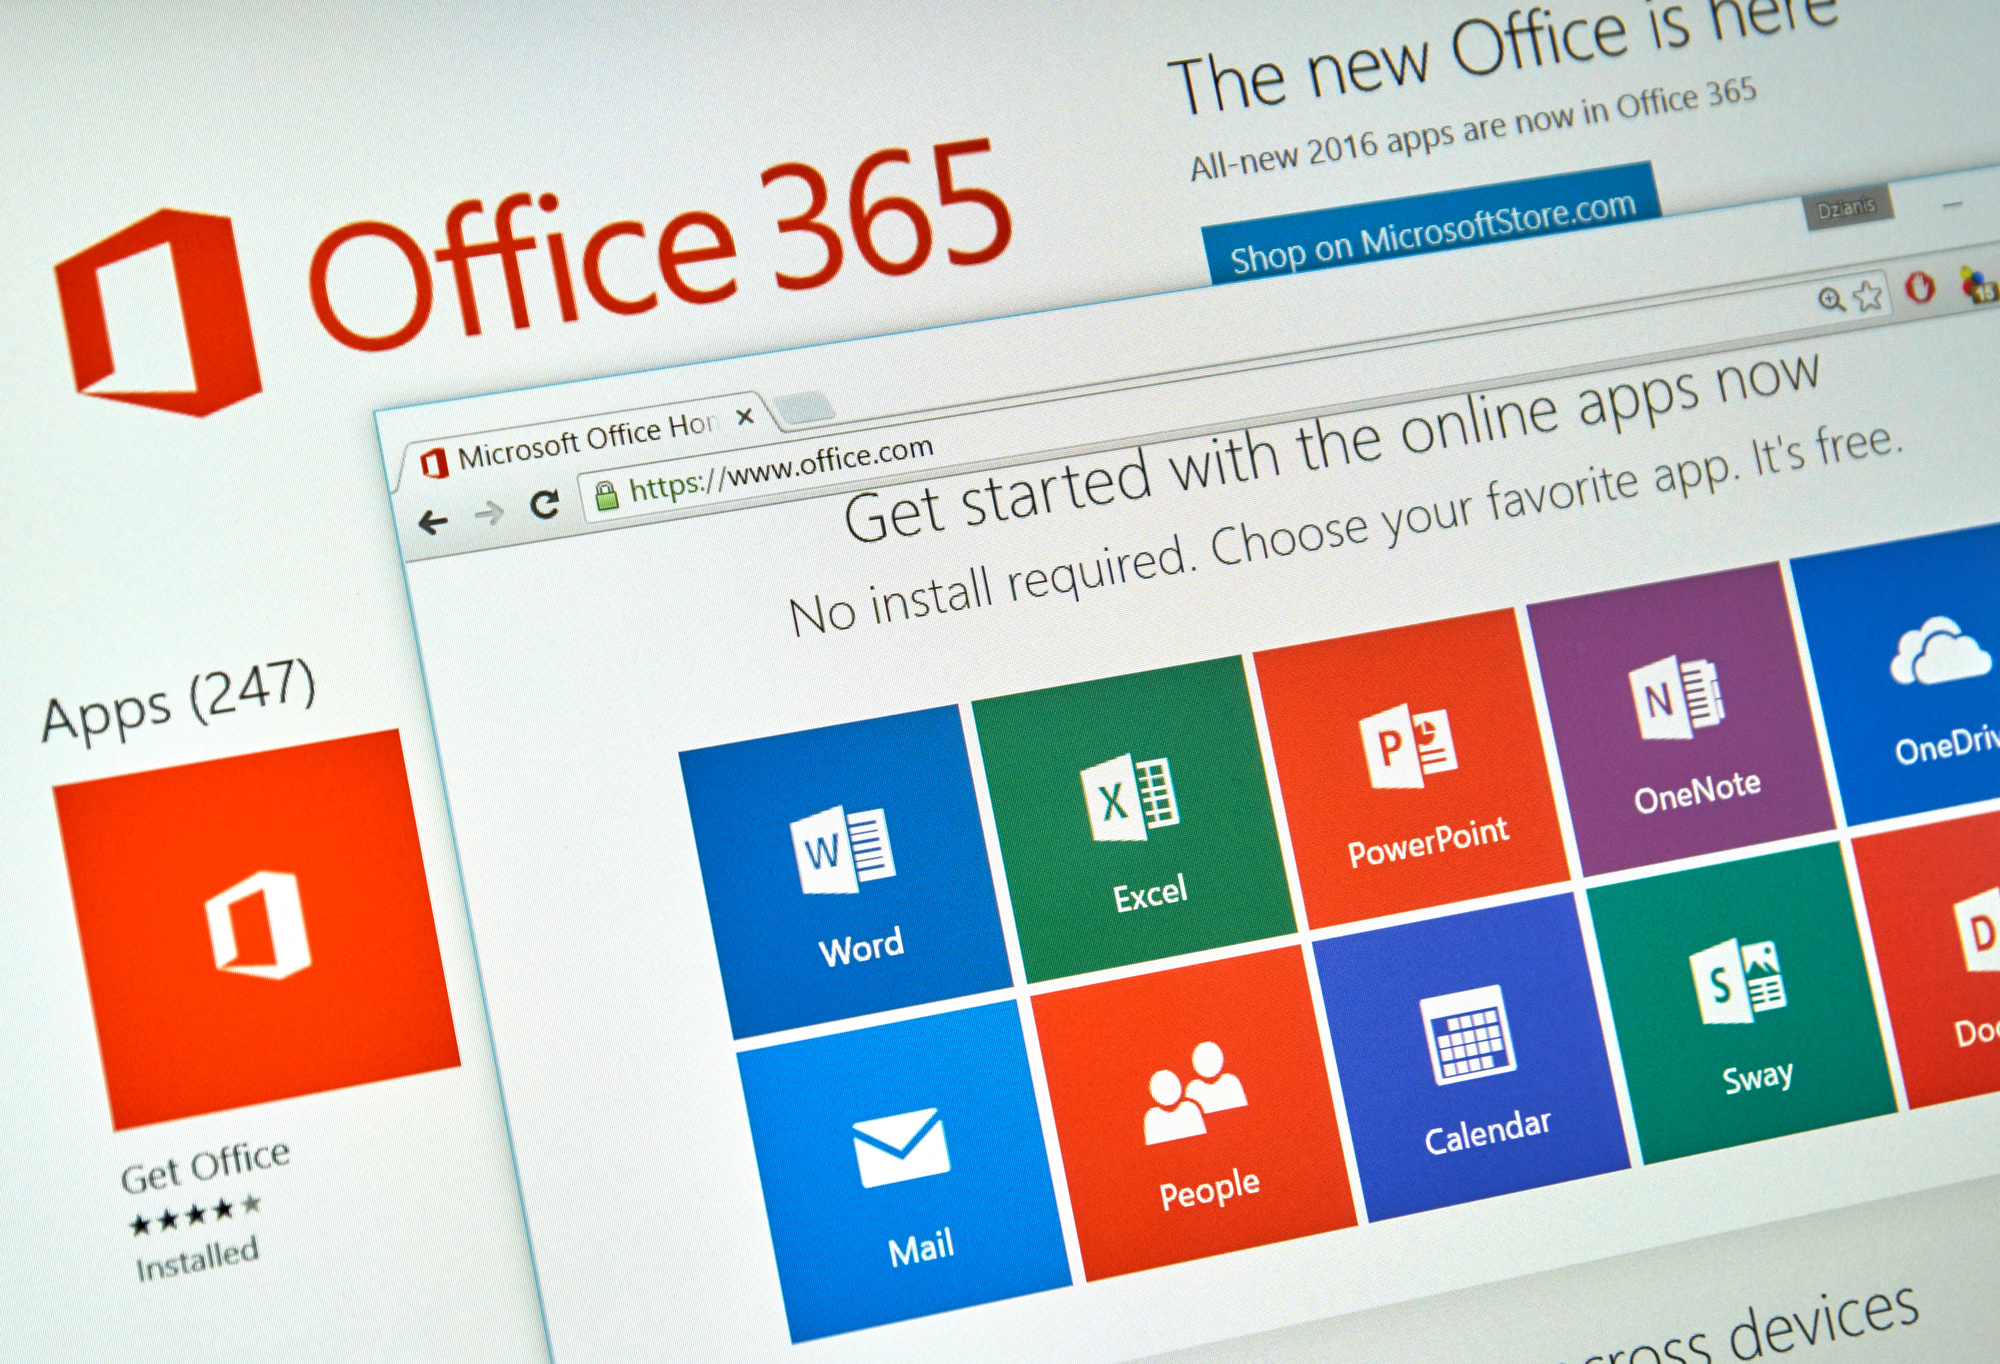
Microsoft Office 365 is basically a supercharged version of Microsoft office. It offers all the functionality that MS Office users have come to expect, but it also includes a lot more. Features like business email, cloud storage, and numerous other services are bundled into one convenient package. When you look at all the features, it is no surprise that Office 365 has become very popular in the business world.
For those who may not know anything about this highly useful service/program, we present the following guide. While it will not turn you into an expert, it will surely give you a good start on that goal.
Two Ways To Access Office 365
There are two client apps that can be used to access Microsoft 365 functions. First, there is the Outlook Web App, hereafter referred to as OWA. Second, you can use the Outlook client, hereafter referred to as OC. Both of these are viable options, but OWA is probably the more common one.
The difference between these two methods is simple. One of them involves the installation of software on your computer (OC), while the other (OWA) uses the web browser as a vehicle. Most of the same features are available for both clients, but there are a few little differences. For instance, the web app has a special inbox that sorts your mail into categories based on their importance. Some people don’t like this, as the AI doesn’t always sort things accurately, so the feature can be turned off for those who so desire. However, most of the differences between these two approaches are cosmetic ones.
The First Steps
Obviously, the first thing you must do is create an account. Before doing this, you can choose the domain name server (DNS) that you wish to use for accessing MS Office 365 services. You can use the one that is provided by Microsoft, or you can add your company’s domain. When you create a password, make sure you choose one that is long and complex. It should meet the following criteria:
- 19-20 characters
- Both upper and lowercase letters
- Contains both letters and numbers
- Contains at least one symbol
- No common names or phrases from any language
That last one is a little bit hard, so we recommend that you make up “nonsense words” that no one knows except you. The purpose of all this is to make you more difficult to hack. Using a simple password that doesn’t follow any of these rules is like jumping into shark-infested waters while covered in chum.
The next step is to set up your 365 Email account. If you are the system administrator (and you probably are), you can control the settings for all inboxes. Depending on what type of email service you were using before, you can probably import all your contacts and save a lot of time.
About Team Sites
Team sites are basically just private websites that function as meeting places and collaboration hubs for a team of people. This site will contain documents, forums for discussion, and any information that the team might need. When you create your MS Office 365 account, a team site will automatically be created for you. Thankfully, you don’t have to stick with this one.
You can create a new site by using an application called Sharepoint, which goes hand-in-hand with Office 365. Also made by Microsoft, it is a tool for creating websites (although it has other uses as well). From the Microsoft online services portal, you can click “visit Sharepoint home,” but it’s probably easier to just go ahead and do a web search.
When you get to your pre-made team site, you can go to the top-left corner and click where it says “site actions.” One of these actions is labeled “New Site,” and this is the one you want. It will open up a creator which will guide you through the process of making your new team site. You can choose from all kinds of different site templates before selecting a site name and a URL. After that, your team site is ready to use.
Connecting Mobile Devices
Microsoft 365 uses the cloud for all storage, allowing you to store massive amounts of data without buying any new hard drives. Because of that, you can connect to your Office 365 network with any device that is capable of accessing the internet. Obviously, tablets are a better choice than phones for something like this, but some people will only have the option of using their phones.
There are two ways to connect your mobile device and authorize it for use on this platform. First, you can use Microsoft Lync to set up your mobile device and give it the permissions that it needs to access your private network. However, this is an outdated solution. You are much better off downloading the Microsoft Office app from either the Apple Store or Google Play.
Email Management
This is one of the core features of Office 365, as business email has specialized needs. This might work a little differently than your personal email provider, so we should probably give you a quick idea of how to use this important feature.
If you want your email to be automatically sorted into folders (and you probably do want that), you will first need to create those folders. You can do this by looking for your username in the right-side panel. Hover over your name, and an option box with a little plus sign should appear. Click on this, and type the name of your new folder when prompted. Then, just press Enter, and it’s done. Repeat the process for as many categories as you would like to create.
By right-clicking on that folder, you can access a few more options. These include deleting the folder, renaming it, moving it, adding or removing it from your favorites list, Emptying it, or adjusting its permissions. You can also hit “mark all as read” to clear your new message alerts. If desired, you can also create subfolders for more precision.
You can also configure 365 to forward all your messages to other accounts. This can be used to read your work emails from home, and it can also be used to keep a group of people in constant communication. This feature is called “automatic forwarding” and is accessible from the settings menu (note: that’s the little gear icon in the top-right corner). Once there, you just enter your email address and the address to which you would like your mail forwarded. You can also keep the original emails by checking the box that says, “keep a copy of forwarded messages.”
Speaking of that little gear icon, it can be used for a few other helpful features, like automatic signing. First, go to the gear and pull up the menu. Click on “Mail” at the bottom of the menu. Go to “Layout” and click “add Email Signature.” You will then be prompted to enter the desired email signature.
To make it automatically appear at the bottom of your emails, you will need to click “Automatically include my signature on new messages I compose.” There is another box marked “Automatically include my signature on messages,” and you want to click this as well. That way, your signature will appear on all messages, whether a new composition or a reply/forward. Explore this settings menu and you will probably find other helpful features, too.
Managing The Calendar
Office 365 includes a calendar feature, and it does a lot more than tell you the day of the month. Primarily, this is used for the management of upcoming events. This might be something as small as an online team meeting, but it still helps to have reminders that keep you on track. You also have the option to add calendars from other users, which is incredibly helpful for scheduling purposes. Normally, you would have to call every member of the team and ask them when they are going to be available. Now, you will have all the necessary information at the touch of a button. Microsoft 365 even includes a “scheduling assistant” to help with this task.
When you start an event, you are just posting the important details so that participants will be prepared. There will be some boxes to fill out, and you probably don’t need our help with that part. However, it is necessary to explain the “repeat” option. You can either set up a one-time meeting or a recurring meeting. If it’s a one-off event, you can just select “never.” Otherwise, just choose how often you want the meeting to be repeated.
You will finally need to decide who will receive this invitation. Your contacts list will be displayed automatically, so you can just go through there and click the people who need to attend. If the name does not appear, you can use the search box to find them. When you’re done with all this, just hit “save,” and your invites will be sent to all the appropriate people.
Using OneDrive With Microsoft Office 365
OneDrive is a cloud-based storage service that is used in tandem with MS Office 365. To start using OneDrive, click the grid icon in the top-left corner. Click on “OneDrive.” When you use this, the first thing you need to understand is that the cloud is inherently insecure. You should never save highly sensitive data to this cloud, but it’s a great place to store everything else.
One drive usually has a folder called “share with everyone.” This doesn’t just mean everyone on your contact list, but everyone on your network. Needless to say, you need to be careful about what you upload here. Your total cloud storage will probably be one terabyte, but larger-capacity plans can be purchased as well. You should also know that OneDrive won’t let you upload any file that is larger than 10 GB. Unless you are posting extremely long video files, this shouldn’t be a problem. Even if you are uploading long videos, you can break them into sections to get past the limit. That 10 GB limit can also be exceeded if you buy a more expensive plan.
Using Skype With MS Office 365
Skype is owned by Microsoft, so it isn’t surprising that it would be bundled into 365 as a communication tool. There should be an “S” icon at the top of your email page, and this is how you access Skype For Business. When it comes to Skype, we can actually see a significant difference between OC and OWA. If you are using OWA, you will only be able to send messages to people in your contacts list. You will not be able to do anything else, including video chat.
If you want to use all the features of Skype, you definitely want to go with OC (the installed client app). It will allow communication outside your contact list and video chat, as well as any other features that are present. To add a contact, you just search for their name and click one button. Messages can be written by going to the “S” icon and selecting the “+” button.
Conclusion
As you have probably noticed, MS Office 365 has a lot of features and perks to be explored. We don’t want to ruin this process for you, and we don’t have space to cover everything anyway. Still, we hope that we have done a good job of introducing you to the key concepts. A lot of people find this program to be intimidating because it has so many options, but most of those options represent simple tasks that you have probably done before. If you have enjoyed this article, please fill out the contact form to receive more of the same.


